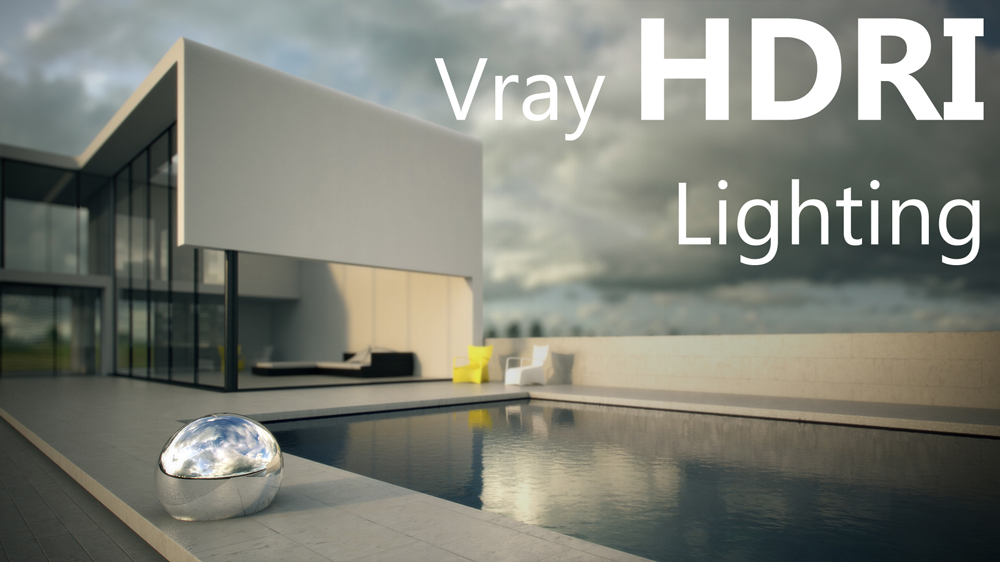
High dynamic range images (HDRI) are very popular in the arch viz world, many professional artists prefer using them to lit their scene instead of the basic sun&sky system. Combined with Vray light dome, the HDRI can add a dramatic effect of realism to the overall lighting, reflections and refractions of object in the scene. In this lesson I’ll show you how to setup exterior lighting using free HDR image that you can download from here.
Although the advantage of using this method is quite obvious, I do have to note that render times will increase significantly compared to Vray sun&sky, especially in interior scenes. You can download the project file from the link below and test it on your own.
Lesson Breakdown
- Setting up HDR map in the environment background.
- Creating new Vray light dome.
- Adjusting the HDRI parameters.
[sociallocker]Download[/sociallocker]
Hi
I’m having problems with HDRI . I downloaded the files and when I render appear white spots in scene. You can say why this is happening ? thanks
Thank you so much 🙂
you’re welcome!
good day can you give me the link for the vizpeple hdri night mode? thanks
you can download the 10 free HDRI from here: http://www.viz-people.com/portfolio/free-hdri-maps/
nice tutorial. we are going to train our employees by this tutorials
please saved the scene in max 2011
hahaha I found it ..sorry…clever too!
great tutorial…however their is no where on these pages to download scene files that I can find anywhere
Nice tutorial.