Although there are great plugins out there for creating procedural wall and floors tiles with complex shapes and layouts, I like to keep it simple as much as I can, by using the build in tiles map of 3ds max.
With just few clicks you can get many tiling layouts that will suit most of your dally architectural projects.
Setting up basic tiles parameters
First, apply a new material to a surface, in the diffuse slot insert a new tiles map. Right away you can see a grid of squares, which is a good starting point for our floor. (If the grid isn’t visible on the surface, click on “show shaded materials in the viewport” in the material editor).
The proportion and size of the tiles map are affected by the surface’s UVW mapping. To make sure that our tiles has the right proportions, select the floor object and put a UVW map modifier under the modify panel. Set it to 200 by 200 for now.

To get the right tiling scale quickly, I like to place a simple box on the floor and set a size of an individual tile, I will only be using it as a reference while adjusting the map size. To do so, either change the UVW map parameters, or adjust the tiling of the map itself.

Tiles pattern & customization
To make things easy, the tile map comes with several popular pattern presets, which you can choose from. You can even create your own custom pattern by selecting the “custom tiles” preset and playing with the parameters at the bottom of the map settings. For the sake of this tutorial I’m only going to choose the “running bond” preset.

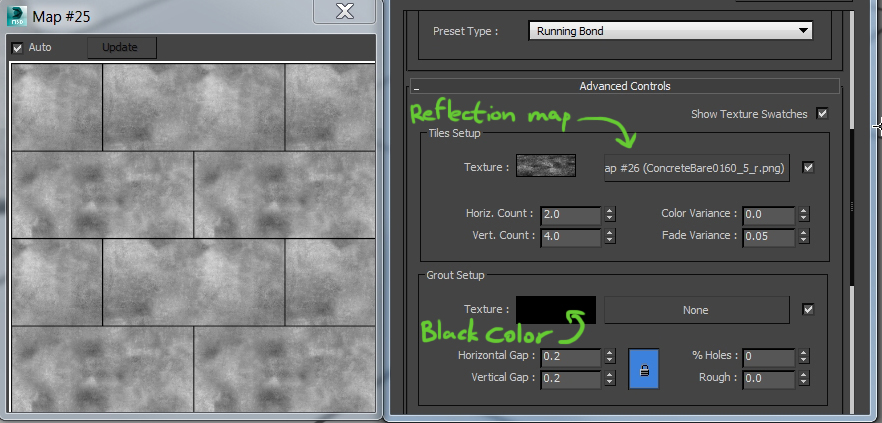
Under the advance controls we can change the appearance of each tile and the grout (the spacing material). Let’s make a rectangle tile by reducing the horizontal count to 2 and keeping the vertical count on 4. We can set a solid color for the tile but for more realistic result it is best to use a tiled texture (search Google for tiled texture or go to cgtextures.com).
As for the grout, I’m just going to use a solid color and reduce the gap size to 0.2.

Tiles reflections and bumpiness
You’ll be happy to hear that most of the work is already done. After setting up the basic tiles pattern, you can copy and paste it to the reflection and bump slots, with a few modifications to it.
IMPORTANT: Remember to make a COPY of the tiles map and NOT an instance, otherwise it will change the diffuse slot as well.
First, in the reflection slot, we need to change the texture from the diffuse map to reflection map. We only want the reflection on our tiles and not on the grout, so set the grout color to black.
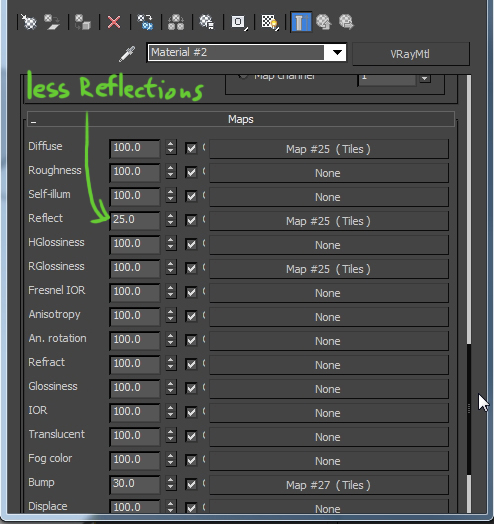
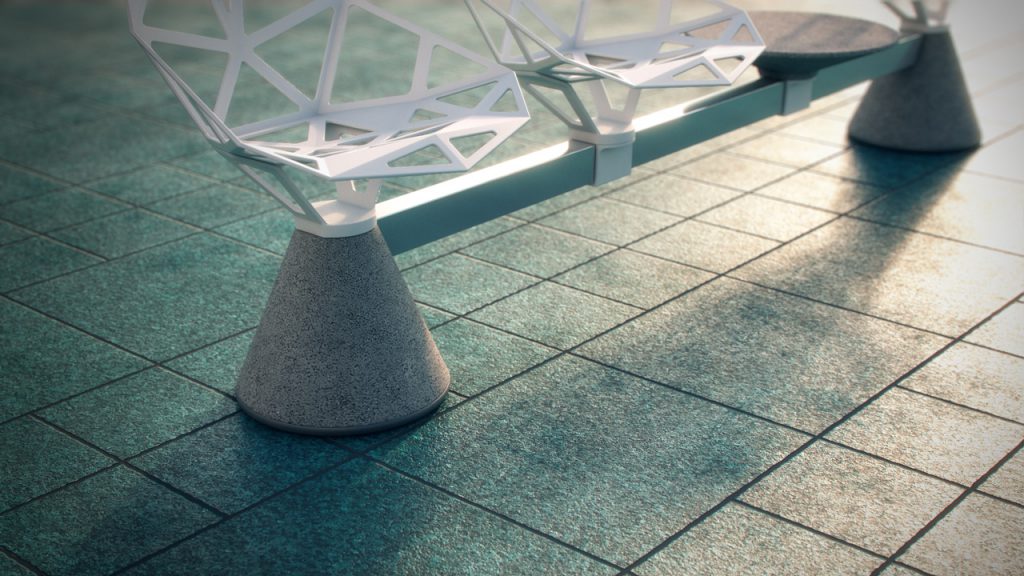
For this concrete like floor tiles I’ll set an IOR value of 2.5 to 3.0, relf.glossiness of 0.9 and copy the reflect map to the refl.glossiness as well (as instance). Copy this map to the bump slot, and change the reflection map to a bump map.


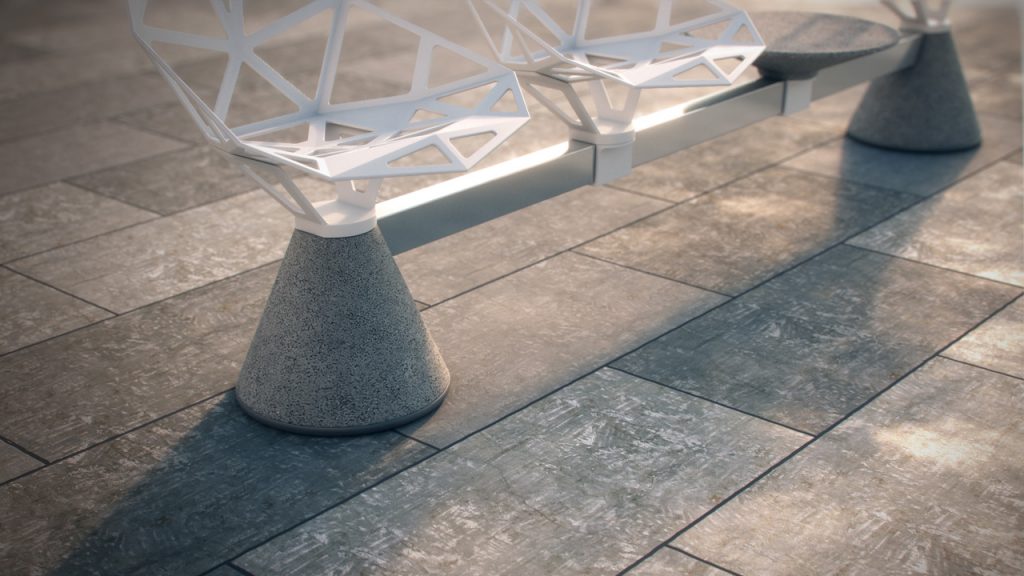
Make some test renders to see how the material interacts with light and shadows, if you need to, reduce the reflection and bump effect under the maps tab.
Making Variations
To get more natural and realistic look for the floor, we can make some random variation to the tiles and grout. Go to any of the tile map that we have created. Under the advanced controls change the “color variance” and the “fade variance” to a value different than 0. Note how each tile gets a random change to its look. You can set different values in the diffuse, reflection and bump slots, to make it more random.

If you wish to make the grout look less straight, you can increase the rough value under the grout setup, set same value to each of the slots (diffuse,reflection,bump).

It’s important to have this kind of variation to any realistic material, but be careful not to make them too strong. Test different values until you’ll get the right look.
click on the images for full size:

Thanks 👍👍
TKS
Wonderful goods from you, man. I have remember your stuff prior to and you are simply too fantastic. I actually like what you’ve received right here, certainly like what you are stating and the way by which you say it. You are making it entertaining and you still take care of to stay it wise. I can not wait to read much more from you. That is actually a great site.
I know this website gives quality based articles and other information, is there any other web page which provides such stuff in quality?
Excellent post. I was checking continuously this blog and I am impressed! Extremely useful info particularly the last part 🙂 I care for such information a lot. I was seeking this certain information for a very long time. Thank you and good luck.
Hi, i am Mann and can you suggest a renderer and lighting options for a realistic result like yours.
Thank you,
Sincerely Mann.
A big thank to you for the great tutorial for everyone…
But…Please show me how to randomly diffuse map (position and rotation, not be color)
Thanks a lot!
Hi Nguyen
If you wish to have more control over the position and rotation of the diffuse map for each tile separately then you will need to use more advanced tools/plugin such as MightyTiles or VIZPARK Walls&Tiles.
Another option is to use some High-quality, ready made textures From “ARROWAY textures” for example.