
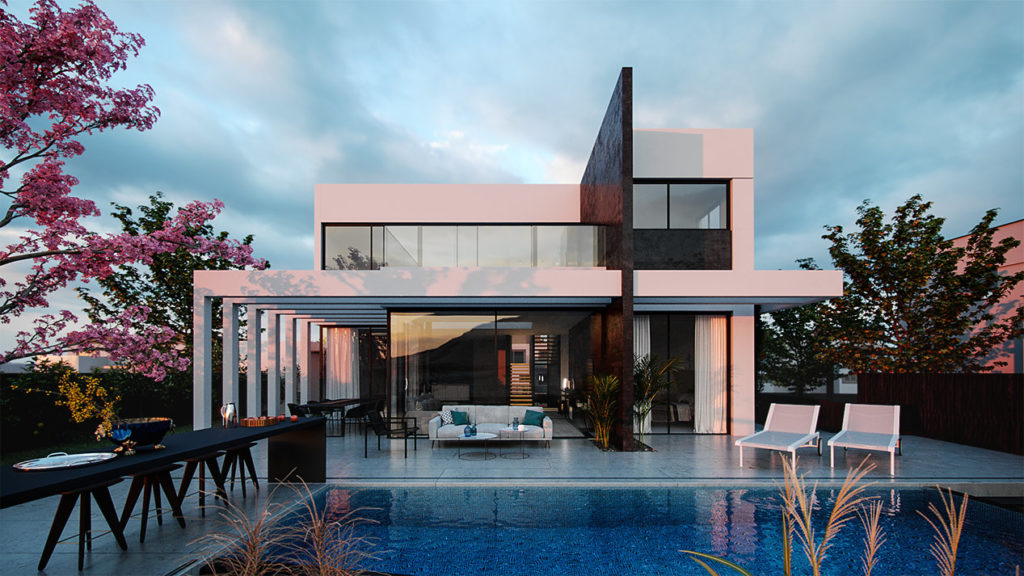
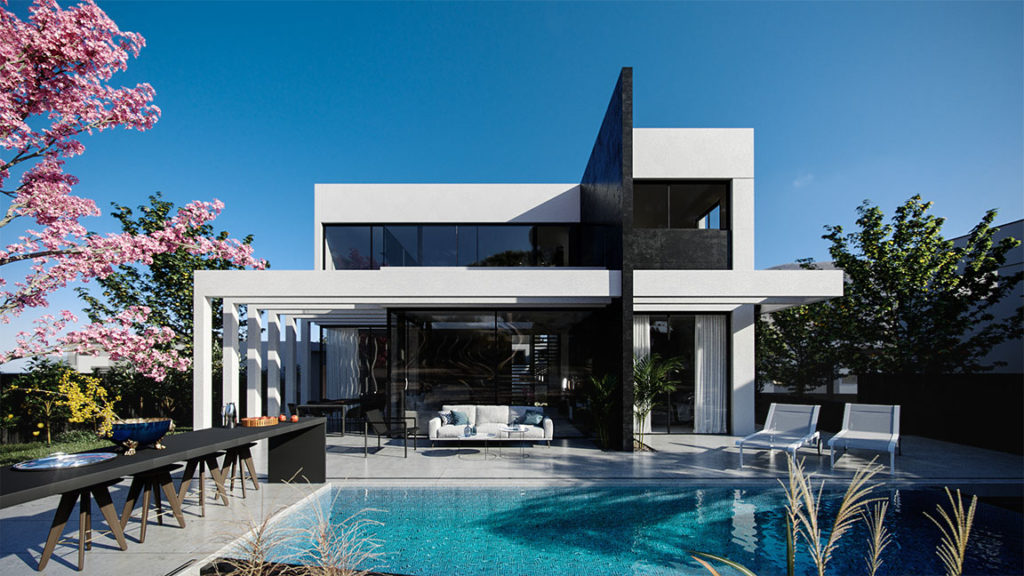
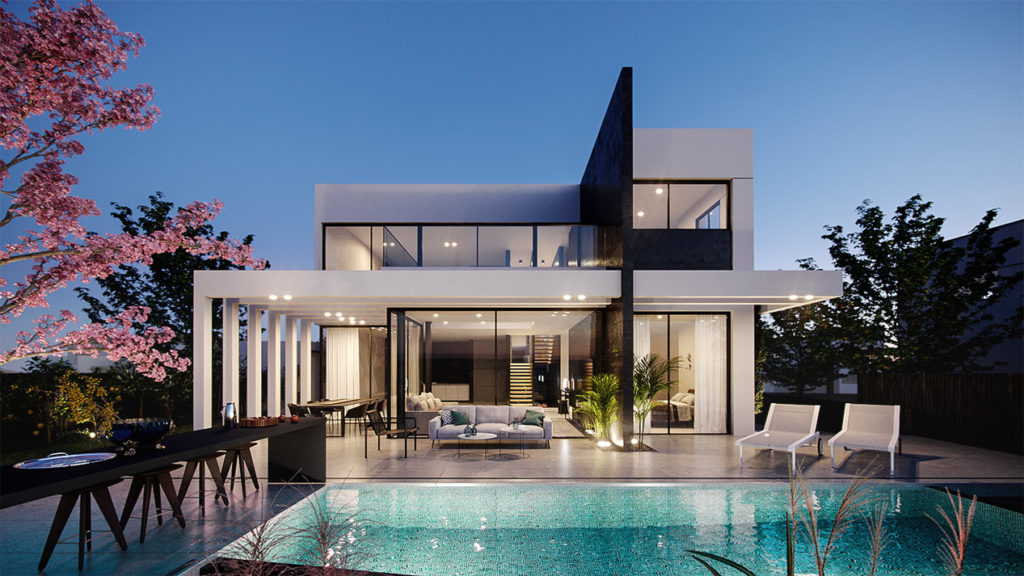
In this post you’ll learn how to add Natural lighting using HDR Images in Vray 5! Let’s dive right into the lesson!
lesson breakdown
- add vraybitmap (vrayHDRI map in older versions).
- load hdr image.
- set mapping to spherical.
- add Vray dome light and assign the texture to it as an instance.
Note: you can add the hdri directly to the 3ds max environment slot. It will produce the same result, BUT it will render a bit slower and we’ll get fewer options to tweak instead of using the Vray Dome light.
- you can control the exposure of the map from the dome light multiplier or from the intensity controller under the map settings. or by changing the camera exposure value.
- you can change the horizontal direction of the sun in 2 ways:
- by rotating the dome light on the Z-axis, make sure to enable “lock texture to icon” under the Dome settings tab.
- by rotating the horiz.rotation in the map settings.
you can also mirror the map by clicking on the flip horizontal option.
if the shadows produced by the HDR image aren’t strong enough, you can increase the map contrast by lowering the inverse gamma option (in the map settings). make sure not to go below 0.75.
tip: you can control the color and hue of the hdri right from 3ds max by adding a color correction map to it.
you can implement this technique for exterior or interior scenes and even as a virtual studio lighting setup. just make sure to use good quality hdr images. click like and subscribe and I’ll see you next time!




0 responses on "HDRI lighting - 3ds Max and Vray 5 tutorial"